• Translated
  • fr-FR
  • ja-JP
  • de-DE
  • it-IT

Fly Tying Group
Fly of the Month

 Recitalist


Fly of the Month

We're glad you're here. You're in the right place if you want to improve your fly tying skills or learn to tie a new fly. If you find this information valuable please support our work by joining FFI and the Fly Tying Group. You may want to connect with another fly tier.  If so, use the button below to search our directory.

Find a Fly TierJoin FFI


Recitalist


Edition: August, 2026

Written by: Manuel Michael Costa

Photographed By: Manuel Michael Costa

Creator: Manuel Michael Costa

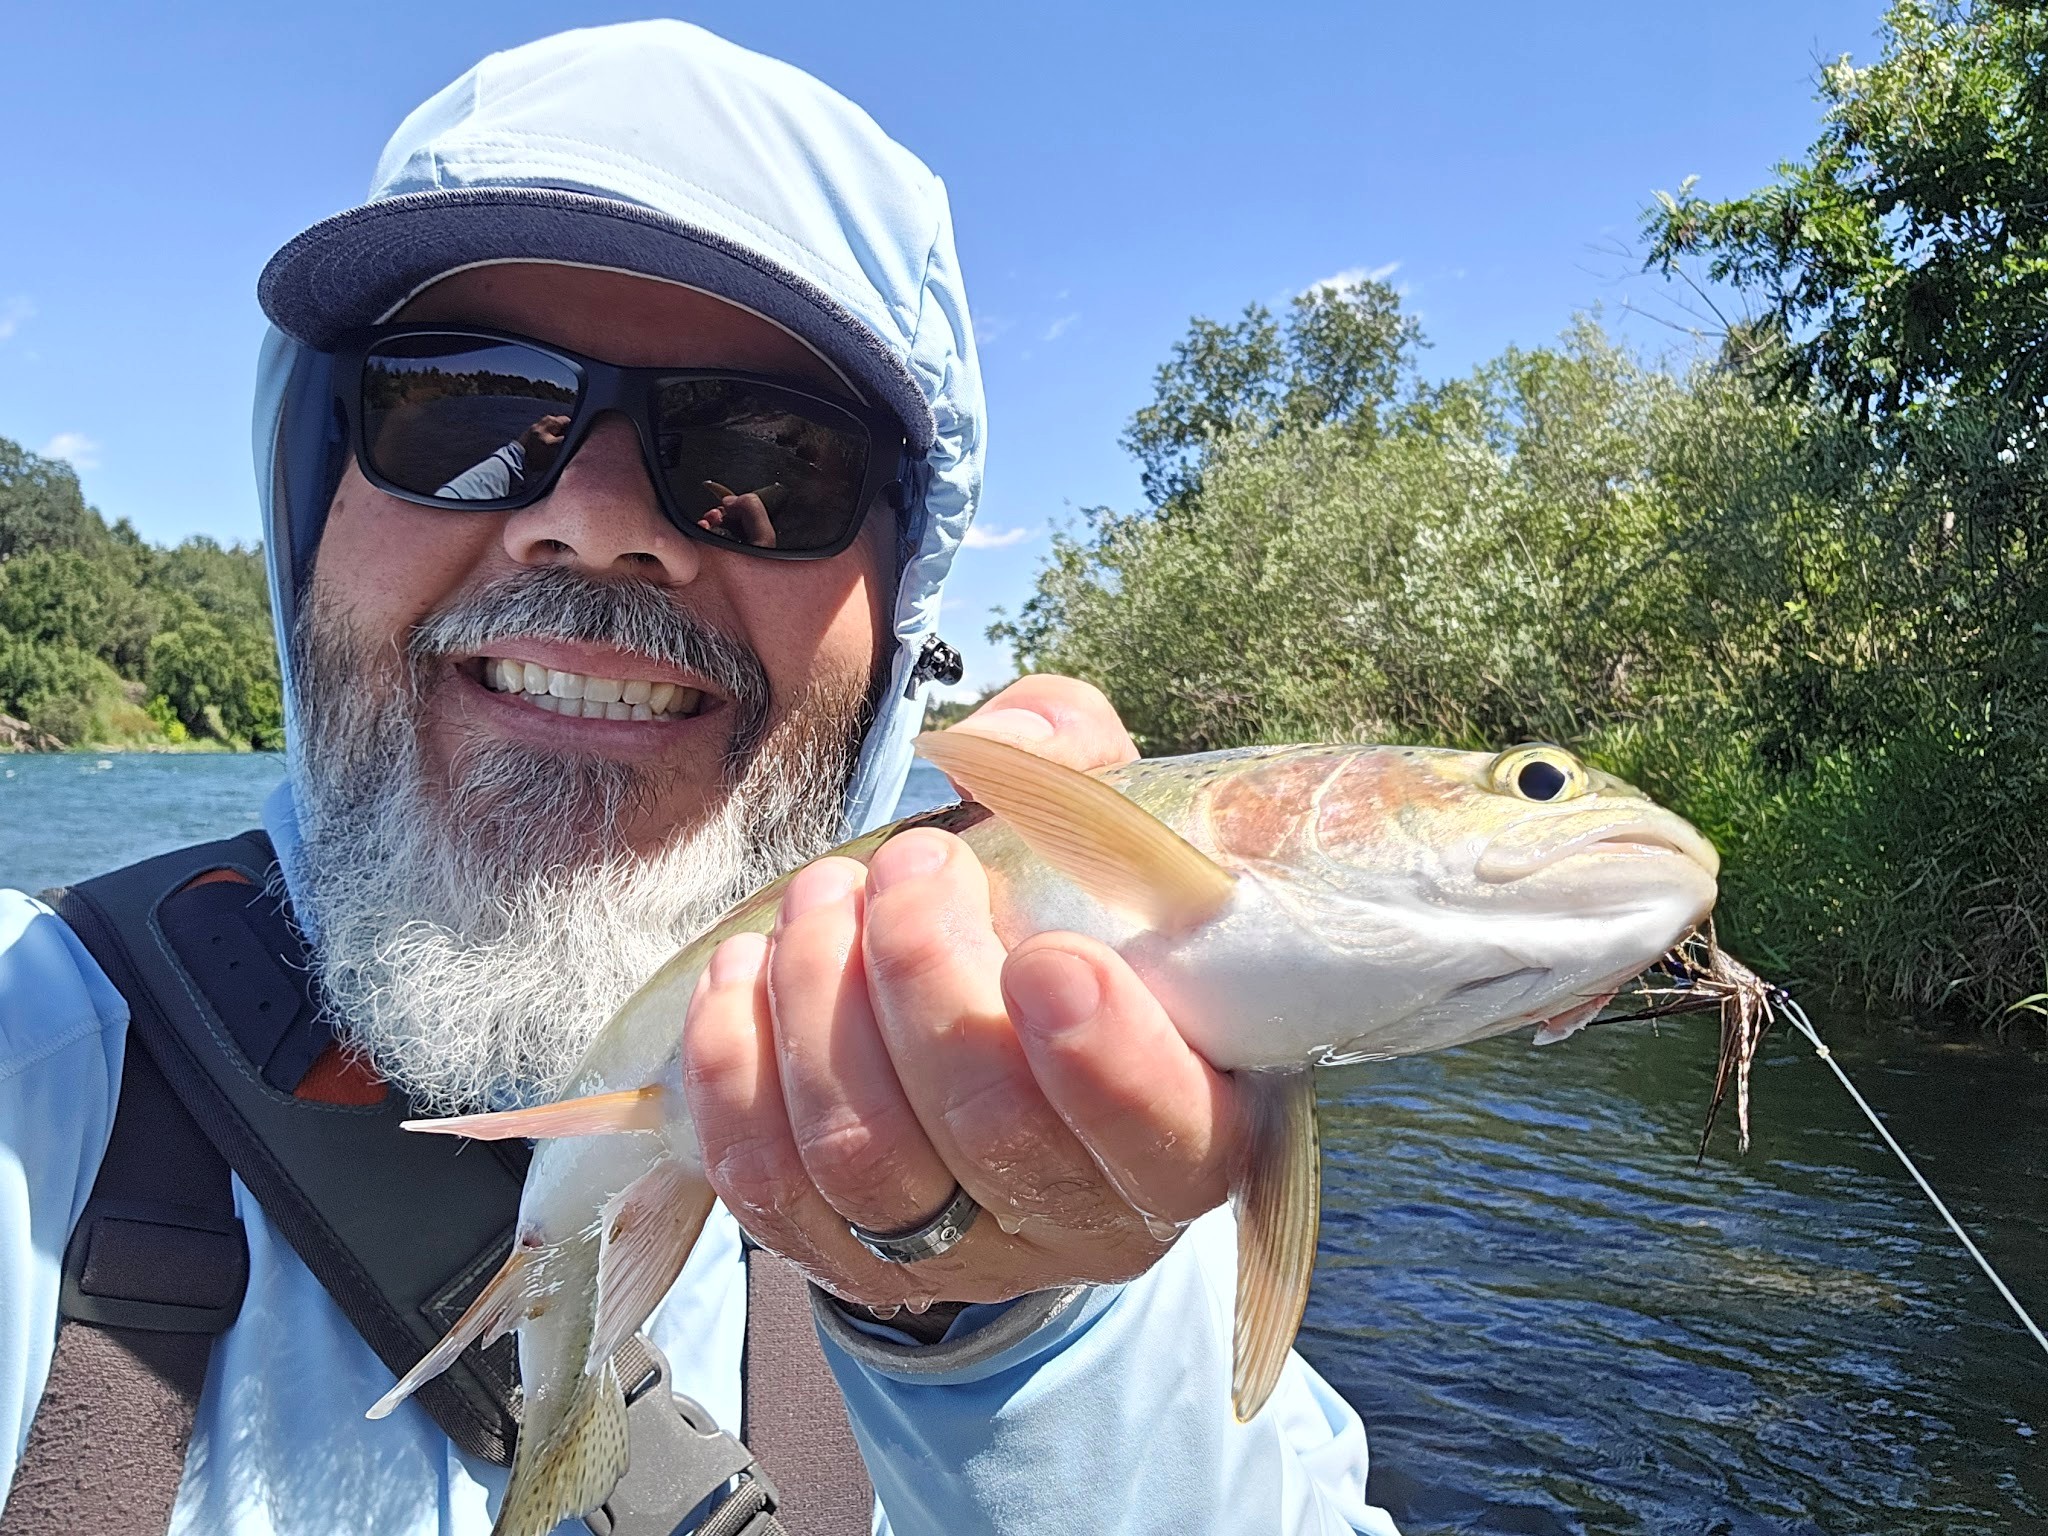
This fly is a combination of a traditional streamer with a hair wing and the Bird’s Nest which is a very productive fly on the Lower Sacramento River. I fish this fly while singing with a Spey rod on a dry line with a long leader and with a sink tip. It is called the Recitalist because it is well dressed and always ready for an encore.

Download PDF Version


MATERIALS

Hook: Size 4 or 6 TFS 8774 3x heavy, up eye, limerick bend, traditional black finish

Thread: Semperfli Nano Silk 100D Black

Tail: Wood Duck Flank

Body: UNI-Floss 600 1 Ply Purple

Rib:  UNI-French Oval Medium Gold

Dubbing: Vicuña UV Hare’s Ear Substitute

Collar: Wood Duck Flank

Wing: Moose Body, Large

Head Cement: Sally Hansen Hard as Nails in Black


Step 1. Start by laying down a thread base to the point of the hook.


Step 2. Tie in the tips of a wood duck feather for the tail.


Step 3. Advance the thread to return eye and tie in the oval tinsel along the side.


Step 4. Advance the thread to the return eye keeping the body smooth.


Step 5. Double over the floss and tie in the cut ends, then wrap thread to the hook point.


Step 6. Advance the thread forward to just behind the eye.


Step 7. Wrap the floss forward, to behind the eye, and secure with thread wraps.


Step 8. Wrap the tinsel forward making even wraps and secure with thread.


Step 9. Create a dubbing noodle and wrap it to create a dubbing ball.


Step 10. Brush out the dubbing ball and comb the fibers rearward.


Step 11. Tie in the remainder of the wood duck feather used for the tail.


Step 12. Make two to three wraps to form a collar, and secure with thread.


Step 13. Clean and stack a clump of moose body hair to form a wing, form a head with thread wraps and whip finish.


Step 14. Coat the head with head cement.


Editors Notes: Comments from the editor.

Please note: The demonstration you are viewing makes no claim, implied or otherwise, that the presenter or demonstrator of the fly pattern was the original creator of the fly. This is the guest tier's version of this fly and it may differ from the creator's or other versions and variations.

Please Credit FFI Website or FFI Fly Tying Group Fly of the Month with any use of the pattern. You can direct any questions or comments to FOM.FTG@Gmail.com.

Call for Fly of the Month Submissions! 

Do you know someone who you think should be featured in the Fly of the Month? If so, feel free to refer them. If you have a camera and computer, you can write a Fly of the Month article about any fly you'd like. For details contact the Fly Tying Group at FOM.FTG@Gmail.com.