• Translated
  • fr-FR
  • ja-JP
  • de-DE
  • it-IT

Fly Tying Group
Fly of the Month

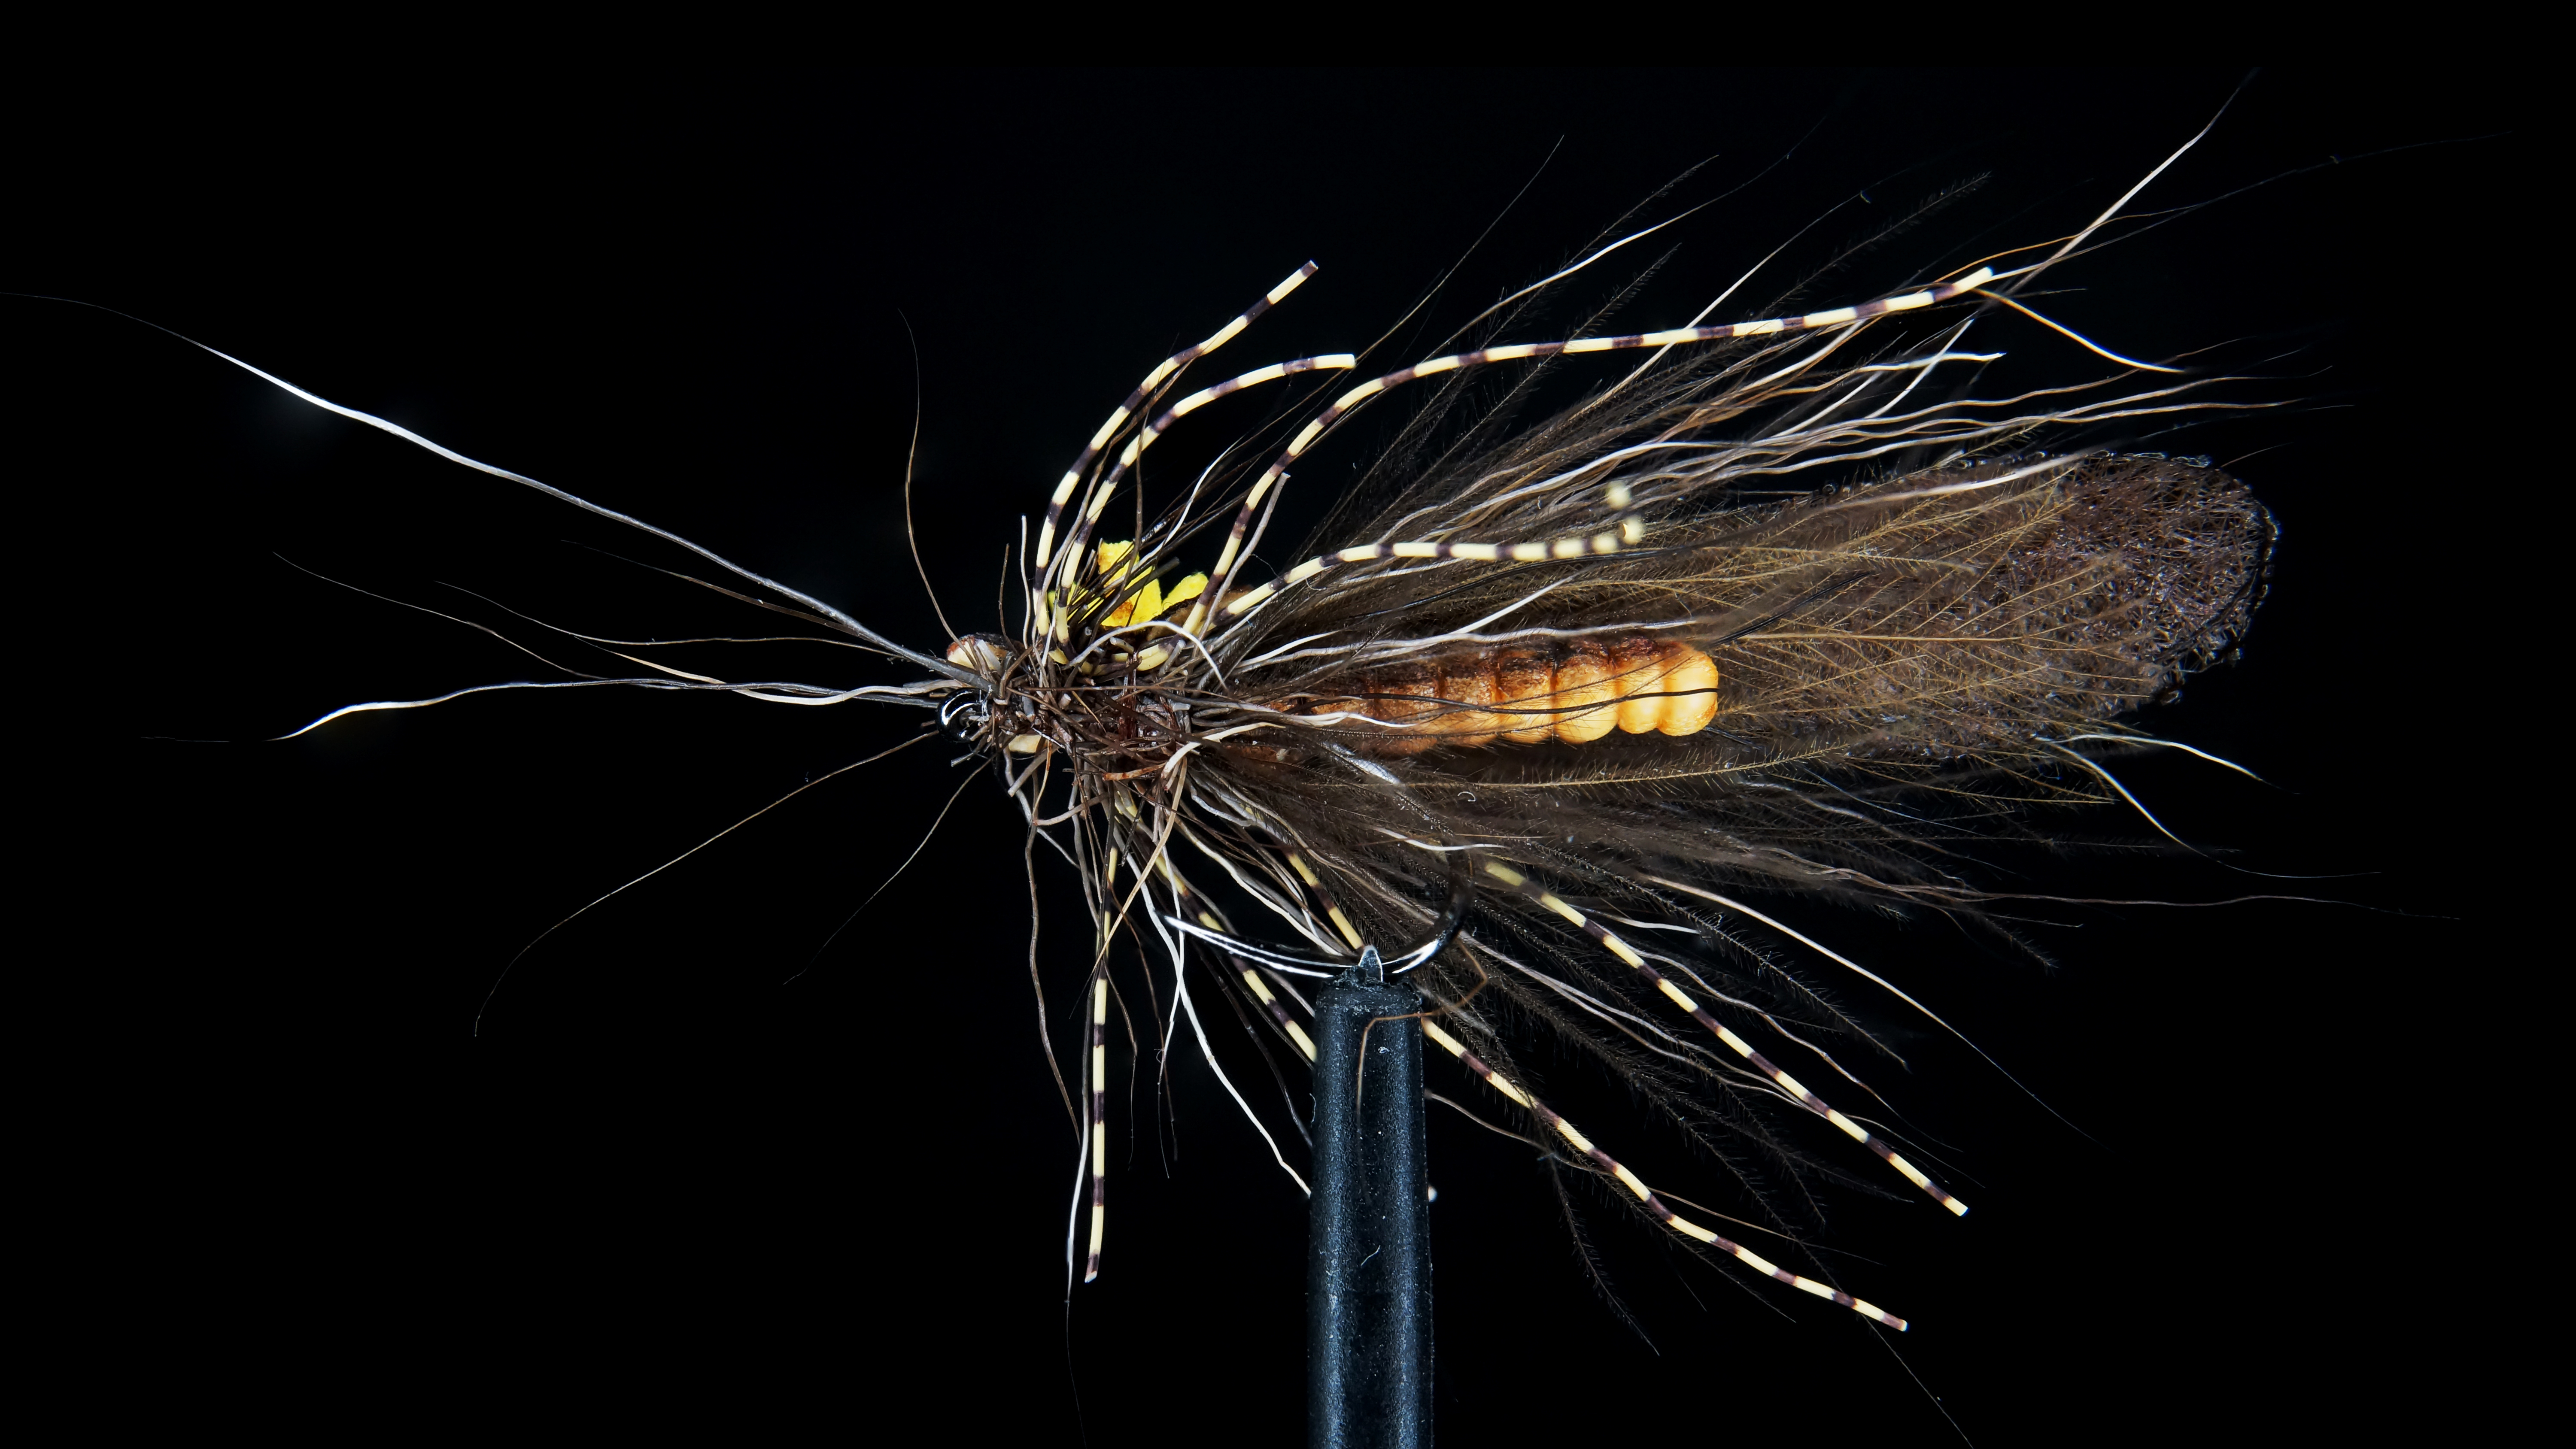
 Stonefly Italian Style
 

Fly of the Month

We're glad you're here. You're in the right place if you want to improve your fly tying skills or learn to tie a new fly. If you find this information valuable please support our work by joining FFI and the Fly Tying Group. You may want to connect with another fly tier.  If so, use the button below to search our directory.

Find An Fly TierJoin FFI


Stonefly Italian Style


Edition: February, 2026

Written by: Guglielmo Ori

     Photographed By: Guglielmo Ori

      Creator: Fabio Federighi

This Stonefly in Italian Style arises from decades of evolution in Italy, where numerous fly tyers have developed a unique approach to fly tying and fly fishing. The defining element of this style is the pursuit of lifelike movement, achieved through precise material selection and the way each component is arranged during construction. The goal is to create flies that appear alive in the water, in contrast to the more static look of classic. A wide range of materials can be used: hair, feathers, synthetics, as long as they enhance mobility. Chamois hair is one of the most representative materials thanks to its softness, irregularity, and sensitivity, although nutria, other furs, and various genetic feathers also play important roles. Italian Style traces its origins to Francesco Palù, among the most innovative and eclectic fly tyers of his time. Beginning in the 1960s, he introduced groundbreaking concepts such as flies tied with chamois dubbing loop and the iconic “Polifemo” nymph, featuring a bead mounted on a needle rather than directly on the hook. His vision inspired a generation of Italian tyers and gave rise to a movement that continues to influence contemporary fly tying. Among today’s foremost interpreters of this tradition is Fabio Federighi, whose work directly inspired the fly presented here.

Download PDF Version


MATERIALS

Hook: Fulling Mill Czech Nymph FM-5065 #10

Thread: 25D GSP

Extended body: foam pale yellow, 2mm painted with markers

Tails: moose rump fibers

Underwing: CDC light brown/natural

Wing: plastic fiber wing material burned

Overwing: chamois and Moose hair

Thorax base: chamois and Moose in a dubbing loop

Thorax cover: foam pale yellow, 2mm shaped painted with markers

Legs: rubber thin legs

Indicator: 1x1mm foam strips

Step 1. Cut a strip of closed-cell foam 4 mm wide, 4 cm long, and 2 mm thick. Mount it on a needle, pinching it at the midpoint along both length and width. As thread, I use 25D power thread, a transparent GSP material that is strong, durable, and can be colored with markers.


Step 2. Make two turns of thread around the foam, perpendicular to its axis, creating a groove that will hold the tails of the extended body. For tails, I use two moose rump hairs, but two turkey flat barbules also work perfectly.

Step 3. Form the extended body with evenly spaced wraps, increasing the spacing as you move from the needle tip backward. Aim for an average body length of about 10 mm.

Step 4. Color the body with waterproof markers. The underside should be a lighter yellow-brown, while the top should be shaded in a darker tone.

Step 5. For the hook, I use a Fulling Mill Grub Hook designed for Czech nymphs. Any medium- to light-wire grub hook will work. Use size 10 or 8, as this is a large attractor pattern. Slide the lower foam strip onto the hook bend and place the hook in the vise.

Step 6. Create the final body segment by wrapping the two foam strips together 2–3 mm in front of where the hook pierces the foam. Trim the excess foam and secure everything with several firm wraps. Again, I’m using 25D GSP, which can be marker-colored if needed.

Step 7. Tie in a natural or light brown CDC feather on top of the extended body. The CDC tips should reach the end of the tails.

Step 8. Trim the excess CDC.

Step 9. Tie in a second CDC feather of the same color, or slightly darker, by the tip.

Step 10. Make two full wraps around the hook shank and secure the feather with thread.

Step 11. Burn a pair of wings using a plastic fiber wing material placed in a wing-burner tool. Other materials such as glued mallard flank also work well.

Step 12. Tie in the first wing on top of the CDC.

Step 13. Tie in the second wing directly above the first.

Step 14. Tie in a small bunch of moose body hair on top of the chamois. Mixing different hair types adds movement and complexity to the fly.

Step 15. Create a dubbing loop with a proper tool (do not split the thread, as the twist will not be strong enough for hair). Insert a mix of chamois and moose in the same proportion used for the wing. Position the dubbing loop at the hook eye and leave the bobbin hanging above the wing.

Step 16. Wrap the dubbing loop backward from the eye toward the wing, constantly freeing any trapped fibers.

Step 17a. Prepare a 2 mm foam element shaped as in the reference image and tie it in at the front of the wing. The foam should extend over the wing by about one-quarter of its total length.

Step 17b. The foam should extend over the wing by about one-quarter of its total length.

Step 18. With the thread still in position, tie in four thin rubber legs—two per side. Use very slender rubber to maximize movement on the water.

Step 19. Trim the legs to length and color the foam element with brownish markers.

Step 20. If desired, add a sighter. Many materials work, but the traditional Italian style uses four small foam strips (about 1×1 mm). Wrapping and cinching the foam causes the sighter to stand upright automatically.

Step 21. Make a single wrap of thread forward toward the hook eye and form a second thorax ring by cinching the thread into the foam at the midpoint of the excess piece. Whip-finish. Trim the sighter to the desired length and the fly is complete.

Editors Notes: Comments from the editor.

Please note: The demonstration you are viewing makes no claim, implied or otherwise, that the presenter or demonstrator of the fly pattern was the original creator of the fly. This is the guest tier's version of this fly and it may differ from the creator's or other versions and variations.

Please Credit FFI Website or FFI Fly Tying Group Fly of the Month with any use of the pattern. You can direct any questions or comments to FOM.FTG@Gmail.com.

Call for Fly of the Month Submissions! 

Do you know someone who you think should be featured in the Fly of the Month? If so, feel free to refer them. If you have a camera and computer, you can write a Fly of the Month article about any fly you'd like. For details contact the Fly Tying Group at FOM.FTG@Gmail.com.